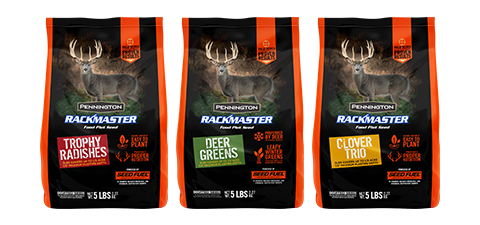
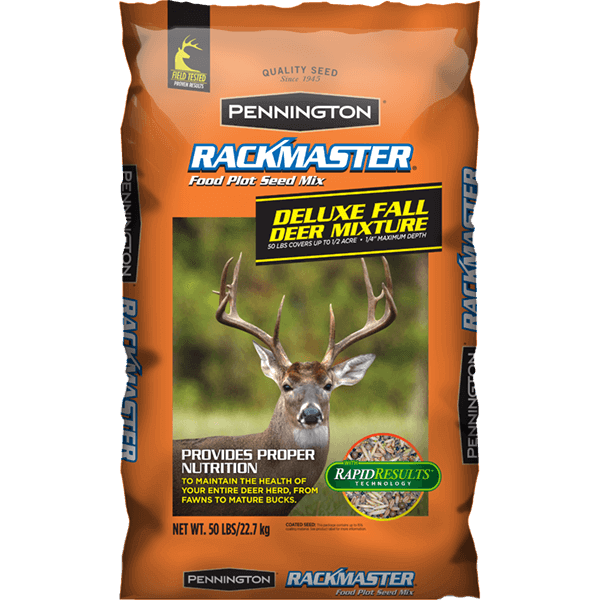
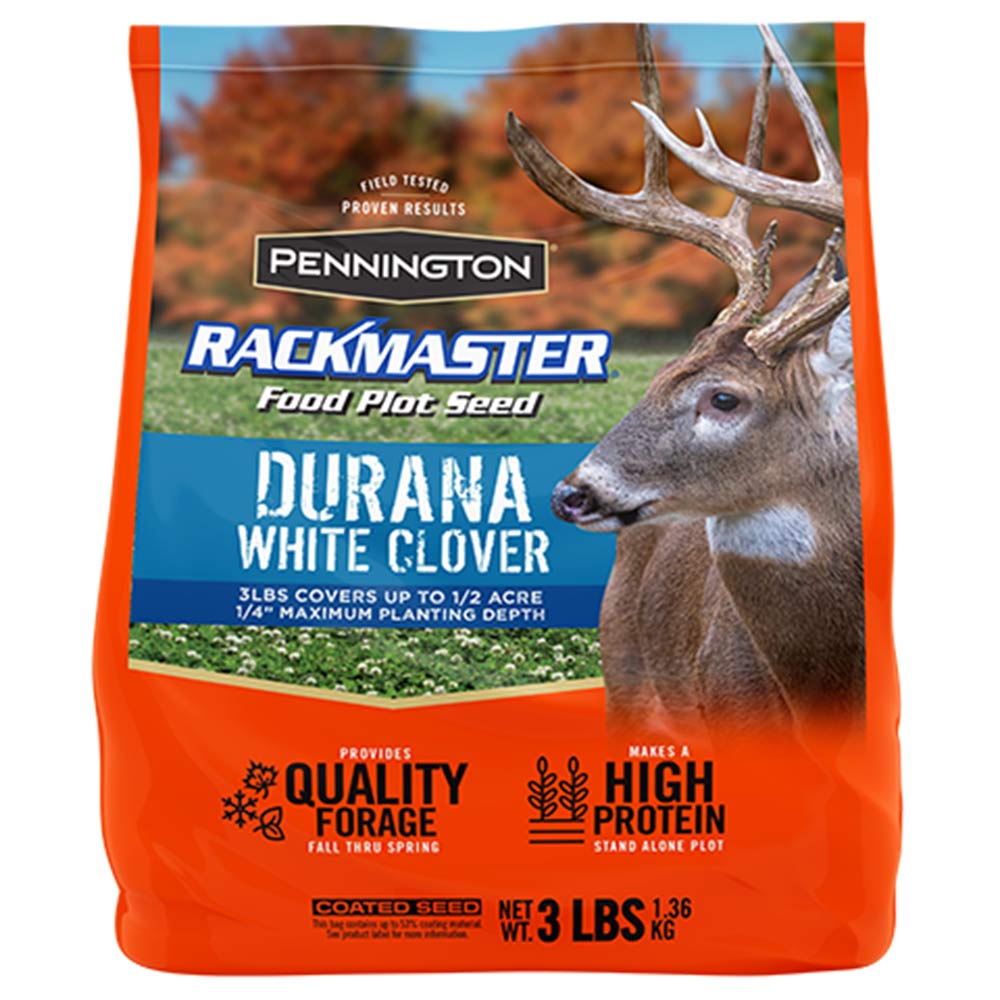
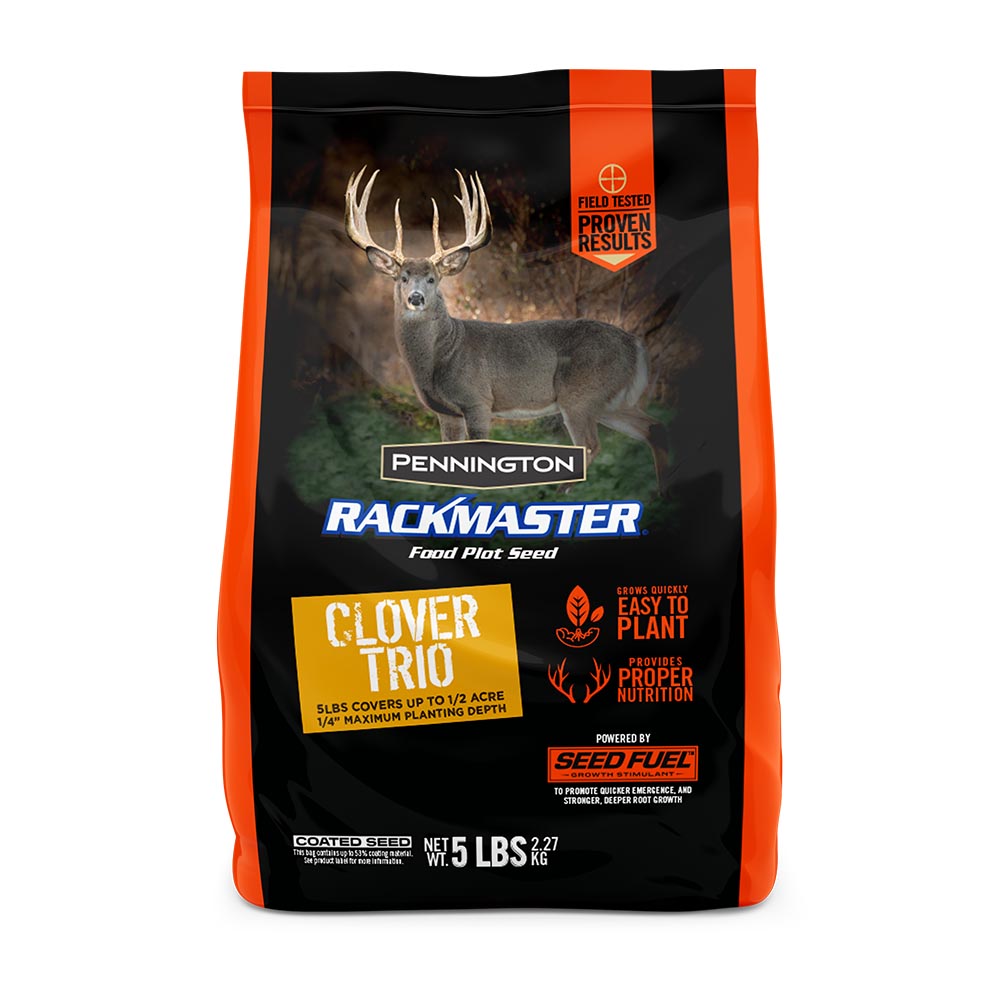
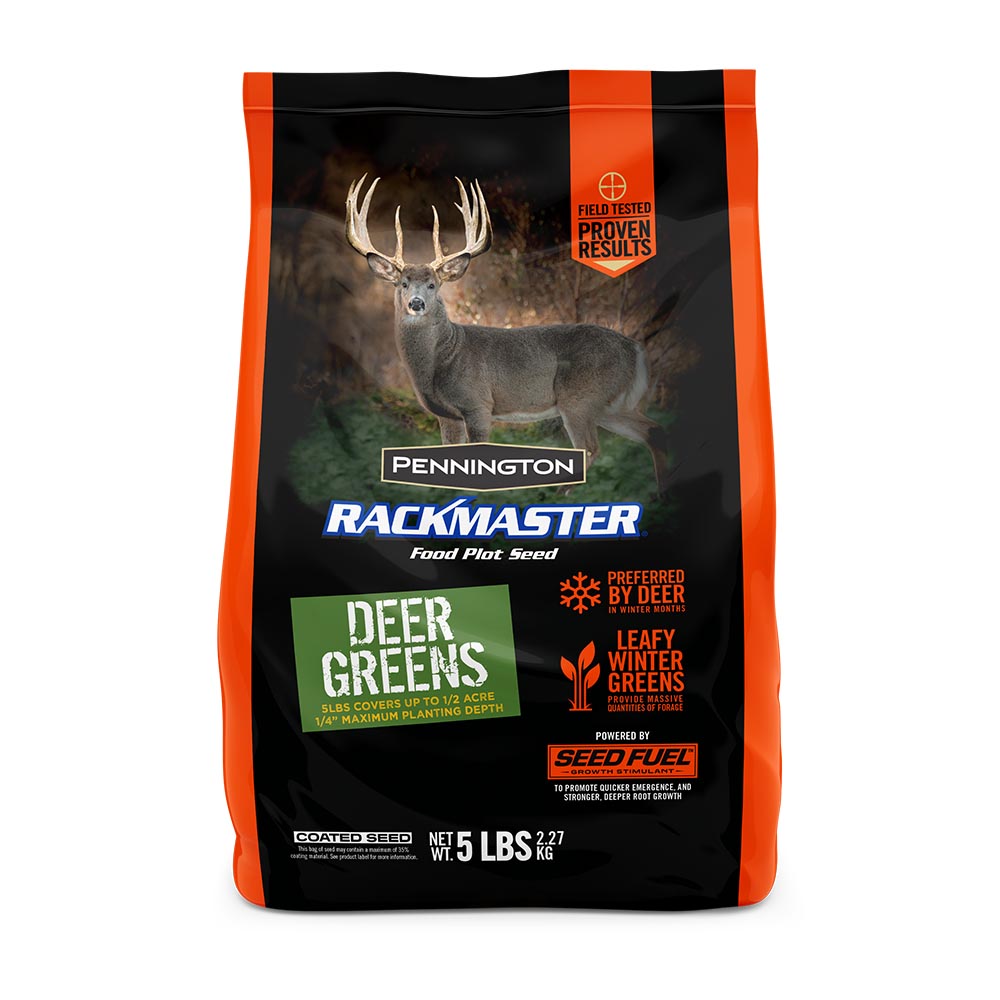
Food Plot 3-Way Clover Blend
Food Plot Seed for Wildlife 3 Way Clover Blend is blend of annual clovers that offers staggered maturity dates that ensure protein rich forage when it is needed most for deer, turkey and other wildlife.
USES:
To attract and provide nutrition and habitat for deer and turkey and other wildlife. To provide a highly palatable source of protein during the colder months following the rut. To furnish high quality nutrition for post-rut bucks and pregnant does and does nursing fawns. To provide cover and browsing habitat for turkey and other wildlife. In a mixture with winter annual small grains to boost protein and energy content, and enhance deer and turkey attraction.
Sizes:
Planting:
Method: Choose a site that receives a minimum of 6 - 8 hours of full sun. Prepare a smooth, firm seedbed by plowing and dragging the soil. Fertilizer and lime should be applied during this process to mix and incorporate it into the soil. Broadcast seed at the recommended rate evenly across the soil surface with a seeder designed for sowing small seed. Use a light drag, culti-packer or similar roller device following seed application to cover the seed. The use of a culti-packer or roller after seeding ensures good seed/soil contact which improves stand emergence. Seed can also be drilled into a firm seedbed with a no-till planter equipped with a small seed hopper attachment. (Caution should be taken to plant seed at the recommended seeding depth.)
Seeding Date: South - Sept. 15 thru Nov. 1; Upper South - Sept. 1 thru Oct. 15; North - Aug. 15 thru Oct. 1
Seeding Rate: 10 lbs. /acre (4 ozs. /1000 sq.ft.) for a pure stand; 3-5 lbs. /acre (1-2 oz./1000 sq.ft.) if seeded in mixes.
Depth: 1/8" - 1/4" maximum (stand failures will result from seed planted too deep).
Fertilizer: Soil testing is highly recommended. Liming to a pH of 6.0-6.5 and providing adequate levels of potassium and phosphorus are necessary to ensure a productive clover stand. See your local county extension office for soil sampling assistance. In the absence of a soil test, apply 300 lbs./acre 0-20-20
(7 lbs./1000 sq. ft.) or an equivalent fertilizer and 1 ton/acre ag lime (50 lbs./1000 sq. ft.). Note: Only fertilizers containing zero or small percentages of nitrogen (5% or less) should be used on pure stands of Clover Trio. Apply fertilizer just prior to seeding. If practical, apply lime a minimum of 3 months before planting.
Special Note: Aggressive winter annual forages such as ryegrass should be controlled/suppressed with appropriate herbicides to allow the clover to establish.
Management:
Soil fertility - For newly established food plots, collect soil samples annually for the first three years to closely monitor soil pH and soil nutrient content. Once pH and soil fertility have reached adequate levels, soil sample every 3 years to monitor soil nutrient levels. Apply lime to maintain a soil pH of 6.2 to 6.5. Add phosphorous and potassium fertilizer according to soil test recommendations. Only fertilizers containing zero or small percentages of nitrogen (5% or less) should be used on pure stands of clover. Excessive application of nitrogen fertilizer leads to poor nitrogen fixation, increased incidence of clover disease and greater weed competition.
Weed control - Broadleaf weeds including pigweed, ragweed, coffeeweed, etc. as well as weedy grasses such as crabgrass, signalgrass, panicums, johnsongrass, etc., may become problematic in perennial clover food plots. Plots should be mowed periodically to keep unwanted weeds and grasses in check. When mowing, set the mower to remove no more than the top 1/3 of the clover foliage. Note that taller broadleaf weeds may have 50% or more of their foliage removed by the mowing operation. Chemical weed and grass control - If a height differential exists between weeds and the clover, glyphosate (the active ingredient in Roundup) can be applied with a wiper or rope-wick type of device to weeds growing above the clover canopy. Do not allow this herbicide mixture to come into contact with the clover foliage. A selective herbicide that only controls grassy weeds can be broadcast over pure clover stands to kill or suppress annual and perennial grasses. Extension weed control recommendations in some states include the use of low rates of 2,4-D amine (1pt/A or less) on well-established stands of perennial white clover to control/suppress many broadleaf weeds when they are less than 3 inches in height. (Consult with the local university extension office for local herbicide recommendations and rates.) To minimize clover injury, herbicides should be applied when clover is free from drought and heat stress.
Control damaging insects - Monitor perennial clover food plots at least every 2-3 weeks throughout the summer months for damaging worm presence. If worms are found and foliage feeding damage is significant, an appropriate insecticide should be applied. The local university extension office can provide information on treatment thresholds and recommended insecticides for worms on clover.
Special Note: When using pesticides, carefully read and follow all label guidelines for mixing, applying and personal safety. If applying herbicides, extreme care should be taken to avoid overlapping the spray and to also prevent herbicide drift or accidental application to any desirable plants, trees and shrubs adjacent to the target area being sprayed.
Tips for Successful Food Plots:
1. Every successful food plot begins with a soil test. Most woodland soils have low pH and low fertility. A soil test will tell you how much fertilizer and lime is needed. Information on taking a soil test can be obtained from your local county extension office.
2. Spend the extra time necessary to properly prepare the soil by plowing, smoothing and firming the ground. Planting on a weed free, smooth and firm seedbed that allows good seed-soil contact is essential for a thick, productive forage stand.
3. Plant seed at the proper seeding depth. Planting too shallow or too deep can result in stand failure. Seed mixes containing small seeded legumes and forbs should not be seeded deeper than 1/4 inch. Use a cultipacker, log or a light drag to firm the soil after planting.
4. When selecting a wildlife food plot site, choose an area that is long and narrow with curves or bends in it. This provides a sense of comfort and safety for wildlife. When developing food plots, a good rule of thumb is to plant 2.5 to 7 acres of food plots for every 100 acres of habitat.
5. Avoid droughty sites such as eroded hillsides or shallow, rocky soils. Southwest facing slopes are hotter in the summer and tend to dry out faster than bottom land.
6. A minimum of 50% full sunshine is essential for a healthy and productive food plot. Morning sun is better than afternoon sun for summer game food plots. The reverse is generally true in the winter.