How to Take an Accurate Soil Sample
Knowing your starting point is the only way to know you're feeding your lawn or garden what it really needs. Soil testing provides this information, but test results are only as good as the samples you give to the testing laboratory. By taking accurate samples, you can target your lawn or garden's specific needs.
Here are five steps to take an accurate soil sample:
- Get Plans In Hand
- Understand Sample Requirements
- Take Accurate Samples
- Maximize Your Paperwork
- Interpret Your Results
Get Plans In Hand
Soil testing can be done any time your soil isn't frozen or overly wet. Sampling new lawn or garden areas several months in advance allows time for making recommended adjustments before you plant. Plan to provide soil samples for each area that you'll be planting. Established lawns, for example, need different nutrition than gardens or new lawns. So, area-specific samples will deliver area-specific results and recommendations. Sample front and back yards separately; conditions will vary in each one.
Test healthy, established lawns and ornamental gardens every 3 to 4 years, and nutrient-demanding vegetable gardens every 2 to 3 years. Always wait at least six to eight weeks after fertilizing depending on the type of fertilizer or liming to sample or your samples may be skewed. Contact your local county extension agent or regional/state agronomist for sampling kits and testing laboratory locations. Local agents and laboratories familiar with your region are best equipped to meet your needs.
Understand Sample Requirements
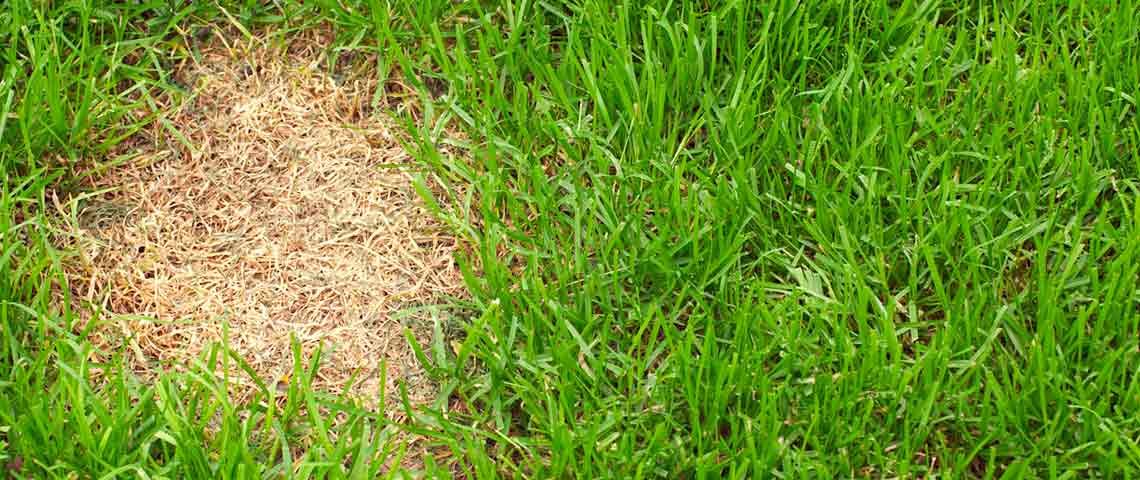
An accurate soil sample is composed of multiple, smaller samples called cores. Individual cores include soil from the surface down to the depth at which grasses or plants will draw most nutrients. Each final sample for an area should combine at least 10 soil cores from random spots through the area. Avoid taking cores from areas with bare spots or lawn moss as part of a general sample. Problem sections or areas where you plan to grow specialty plants, such as blueberries, warrant separate final samples of their own.
Lawn cores should extend 4 to 6 inches deep, excluding thatch. Cores from ornamental or vegetable gardens should reach 6 to 8 inch depths. Make sure to remove the grass blades, stems, thatch and other organic matter from the core. Trees and shrubs feed heavily where the outermost canopies drip rain and dew to the ground, so take soil cores there. Work when soil is dry enough to crumble easily in your hand, so soil cores mix uniformly for your final soil sample.

Take Accurate Samples
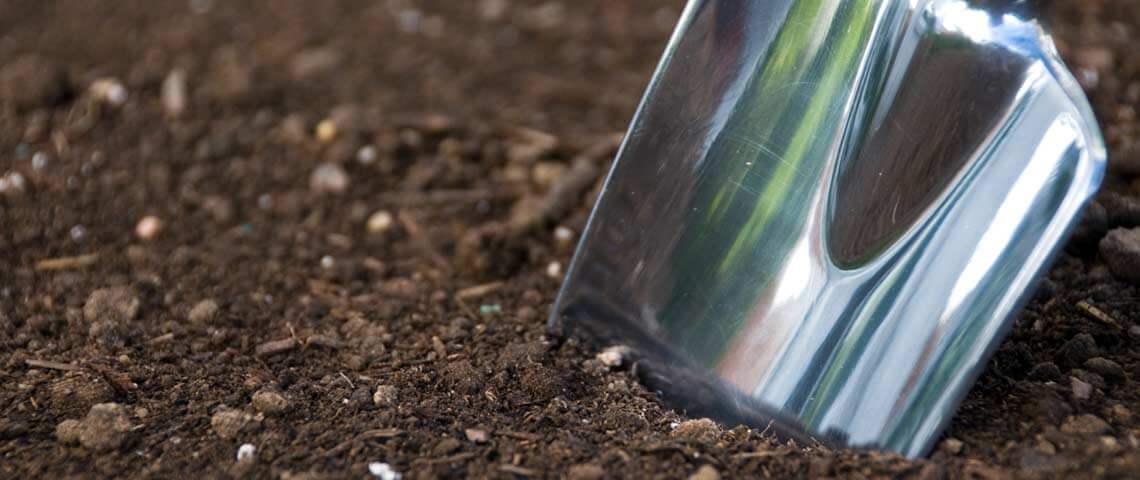
A soil probe or core sampler designed for sampling soil is easy to use; simply insert it into soil and retrieve your core. A simple garden spade or trowel works, too. Well-cleaned stainless steel is ideal. Avoid using a brass, bronze or galvanized utensil, as the copper or zinc can contaminate results. Use a clean plastic or stainless bucket for mixing soil cores.
To gather cores with a spade or trowel:
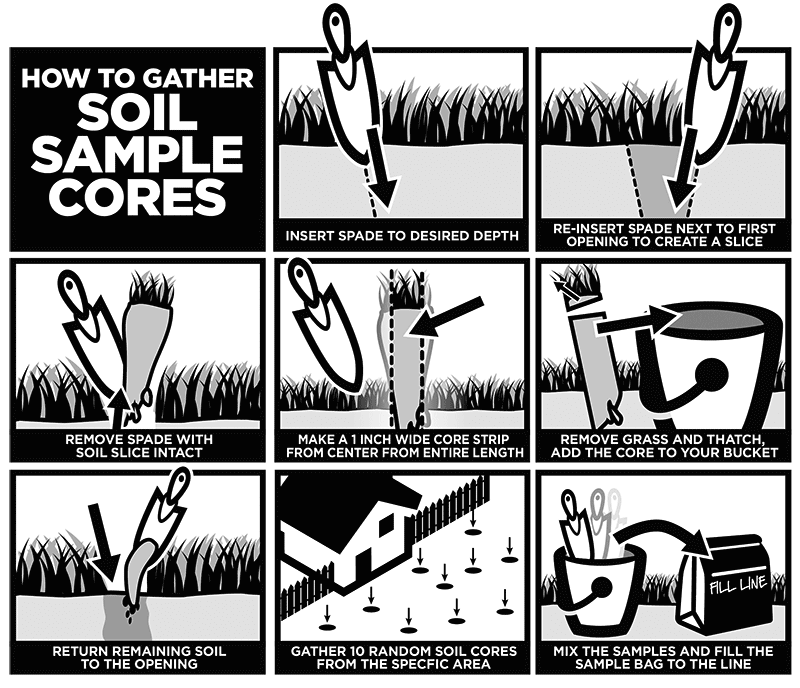
- Insert the spade or trowel to the desired depth in the soil, creating an opening.
- Create a soil slice about 1/2 inch thick by reinserting the spade next to the initial opening.
- Remove the tool with the slice intact, and take a 1-inch-wide core strip from the center down the entire length.
- Remove grass blades, stems, thatch stones and other organic matter from the sample.
- Add the core to your bucket, return remaining soil to the opening, and press firmly back in place.
- Repeat until your bucket holds 10 random soil cores from the area.
- Mix the 10 cores thoroughly to make one uniform sample.
- Fill your sample bag or box to its fill line, often about 1 cup.
Maximize Your Paperwork
Label each sample bag and its testing form with matching names, such as “Back Yard" or “Shade Area." Forms vary in what they request, but the more informed the laboratory is about your lawn or garden plans, the better information they provide in return. So be specific, and don't skimp.
For example, tell the lab if you're starting new grass or specialty crops; the recommendations will vary significantly. If you suspect nutrient deficiencies around sickly shrubs, pass that information on, along with the shrub names. For guidance on healthy, established lawns, ask for routine nutrient and liming recommendations. Also let the lab know the species of grass you are growing along with your irrigation habits and whether you bag your clippings or let them lie.
Interpret Your Results
Results from accurate soil samples reveal whether soil nutrients are low, high or sufficient for your plans. Soil pH, confirmed as part of your test, is especially important because it influences the availability of existing and added nutrients. Results show soil textures, too, as well as percentages of organic matter, which affect water and nutrient retention.
Test results also recommend adjustments to correct problems or enhance soil fertility. These include specific fertilizer ratios your lawn needs or soil amendments, such as lime or sulfur to adjust soil pH and make nutrients more available. Recommendations also outline how much of each to apply for your soil's specific texture, and whether to apply once or stagger applications at specified intervals. They'll also cover additions of organic matter to gardens and bedding areas.
With test results based on proper soil samples and detailed information, you can implement recommendations with confidence. When you know the condition of your soil from the start, you can give your lawn or garden exactly what it needs moving forward.