How to Take Care of Norfolk Island Pines
As winter holidays approach, small Norfolk Island pines pop up in all sorts of retail establishments, from neighborhood markets to fine floral shops. Usually bedecked with red ribbons and miniature ornaments, these tabletop trees add living winter cheer to homes. Though holiday activities can take a toll on them, potted Norfolks flourish for years as healthy, hearty houseplants with proper care. With a little TLC, Norfolk Island pines provide year-round beauty — and holiday decoration — for years to come.
Recognizing Norfolk Potential
Despite their undeserved reputation as disposable décor, Norfolk Island pines are naturally long-lived. Though not true pines, they're part of a plant family that dates back to prehistoric times. In modern home landscapes, where frost-free climates or protected locations allow, Norfolks are known to live 150 years or more.1
Along parts of the California Coast, Norfolk Island pines grow 100 feet or taller, stretching up to 60 feet wide and growing up to 2 feet per year.1 On their native Norfolk Island, east of Australia, they're known to grow twice as tall.2 It's a far cry from their tiny footprint on holiday tables. Given time and proper care — and tall ceilings — your potted Norfolk may grow 20 feet tall indoors.3
Taking Care Cues from Island Shores
 When caring for indoor Norfolk Island pines, understanding their native environment helps ensure success. Imagine rocky soil and sandy shores with excellent drainage and full sun, and you've zeroed in on important Norfolk care. Keeping these trees healthy and happy for the long run requires good light and proper potting soil.
Give indoor Norfolks bright natural light — as much as your home allows. This encourages strong, healthy, horizontal branches with the graceful symmetry for which Norfolks are known. Normal indoor home temperatures are fine for this plant, but avoid placing them in drafty areas or near heating or cooling ducts. Whenever you move the plant, do so gradually. Let it acclimate to the new spot or it may drop its lowest branches. Dropped branches won't grow back.
Adaptable Norfolk pines aren't particular about soil pH, as long as they get good drainage. Their slow-growing root systems don't require repotting until roots peek through the container's bottom. When repotting time comes, choose a deep container with good drainage holes, and then fill it with coarse, fast-draining potting mix reminiscent of its home island soil.
A commercial potting mix designed for succulents works well, or you can mix your own. The New York Botanical Garden recommends equal parts of sterilized potting soil, peat moss and sand or perlite, with 1 tablespoon of added bone meal.3 A bone meal such as Lilly Miller Bone Meal 6-12-0 offers more original, natural nutrition than highly processed products.
Nurturing Norfolks Year-Round
 When Norfolk Island pines appear in holiday stores, they're in the resting period of their annual growing cycle. They get the most attention, but need the least amount of water and fertilizer during this time between fall and spring. No fertilizer is needed, but your tree still needs regular watering during its rest.
Always check the soil by hand before watering your plant. Let the soil dry slightly about an inch deep, and then water thoroughly, until water runs out the container's drainage holes. Always empty the saucer completely, so the tree never sits in water. Give the pot a quarter turn every time you water. With window light coming from a single direction, this promotes even growth and encourages symmetry.
As spring approaches, bright green growth on branch tips signals the rest is over. It's time for fertilizer and increased water. Add a fish-based fertilizer such as Alaska Fish Fertilizer 5-1-1 into the potting soil, according to label instructions for the size of your container and your tree, to give repotted trees a healthy nutritional foundation. Add the fertilizer to the top of the plant's soil every six weeks during the active growing season from spring until fall. Follow label instructions for the size of your tree, gently scratch the fertilizer into the soil, and water it in.
Water your Norfolk Island pine whenever the soil feels dry to the touch, and always empty the saucer. If the soil pulls away from the pot's edge as it dries, gently press it back in place with your thumb. This keeps water headed toward roots instead of running down the pot's sides.
If your home's humidity runs below 50 percent, your plant will appreciate a boost. Mist it regularly using a spray bottle, or place a pebble-filled saucer beneath it. Add water to the saucer, but keep the water level below the top of the pebbles, so the bottom of the pot stays dry. A home humidifier works well, too.
Meeting Growing Challenges
Stressed Norfolk Island pines don't waste time in showing they need help. Watch for signs of trouble, and you'll prevent most problems with this plant. If you see the following symptoms, act quickly to meet the challenge:

Once your Norfolk Island pine gets settled into your home, it's a low-maintenance, high-enjoyment standard for years to come. Products from Pennington Fertilizer's Lilly Miller and Alaska lines of plant care products can help you keep your Norfolk Island pine healthy, happy and ready for holiday cheer year after year.
Lilly Miller and Alaska are registered trademarks of Central Garden & Pet Company. Pennington is a registered trademark of Pennington Seed, Inc.
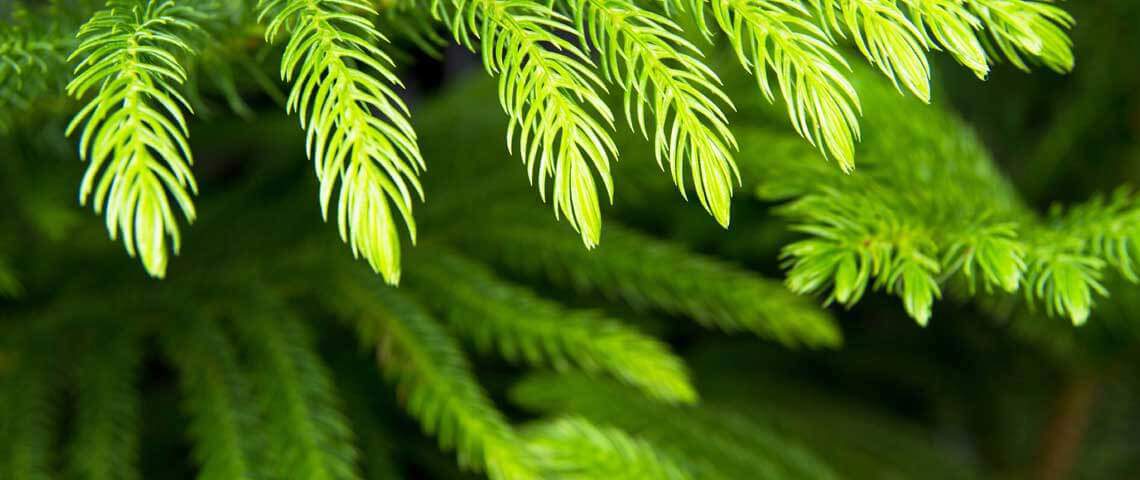
Header image courtesy of Costa Farms
Sources:
1. The California Polytechnic State University SelecTree. "Araucaria Heterophylla Tree Record," 1995-2015.
2. San Francisco Botanical Garden, “Araucaria Heterophylla - Norfolk Island Pine"
3. The New York Botanical Garden, “Araucaria Heterophylla- Norfolk Island Pine"